How to Spot Roof Damage From the Ground (No Ladder Required)
Why Ground-Level Inspections Matter
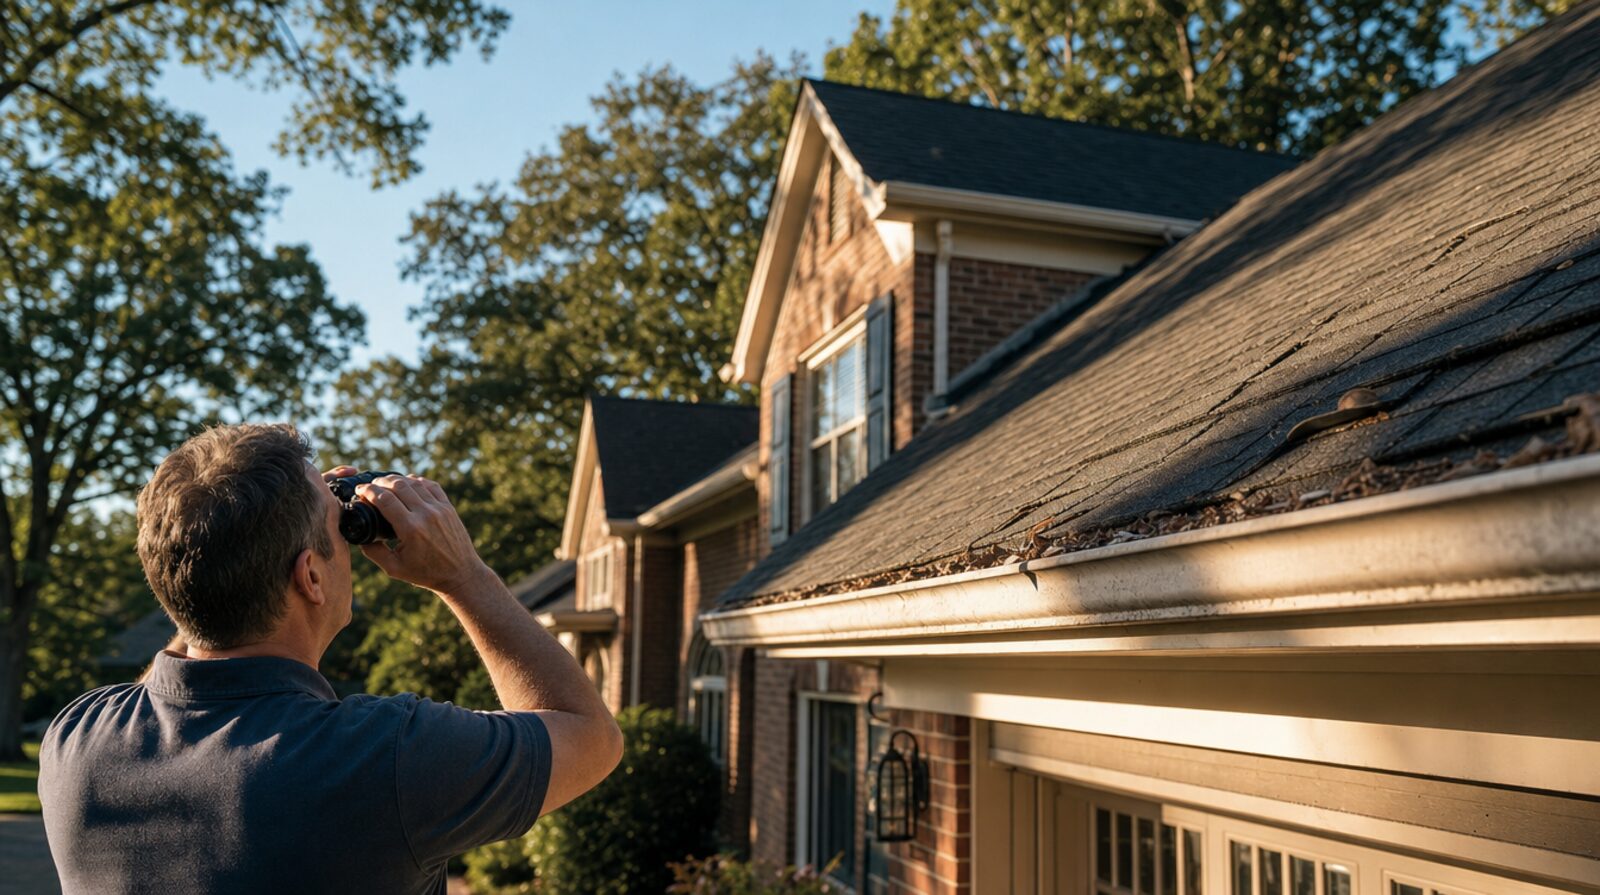
Most homeowners only think about their roof after water shows up on a ceiling — and by then, the damage has usually been building for months. The good news is that a roof rarely fails without warning signs, and you don't need to climb up there to catch most of them. A pair of binoculars, a flashlight, and twenty minutes twice a year (spring and fall are ideal in the Piedmont Triad, after winter ice and before hurricane season) will catch the majority of problems while they're still cheap to fix.
We'd rather talk a homeowner through a five-dollar repair now than a five-figure one after a slow leak rots the decking. Here's the walk-around we tell our own customers to do.
The Ground-Level Walk-Around
1. Walk the perimeter and look up
Start at each corner of the house and walk the yard, stopping every fifteen feet or so to scan the roof plane. You're looking for:
- Sagging or dipping areas — a roof plane should read as a straight, even line against the sky. Any low spot or wave usually means the decking underneath is wet or has lost structural integrity.
- Missing, cracked, or curling shingles — asphalt shingles that are curling at the edges or cupping in the middle have lost their oils and are past their useful life in that spot.
- Color or texture differences — a patch of roof that looks darker, shinier, or a different shade than the surrounding shingles often means granule loss, algae staining, or a prior repair that's aging differently than the rest of the field.
- Bald or shiny patches — this is exposed asphalt where protective granules have worn away, usually from age or hail impact.
2. Check the roofline and valleys
Sight down the ridge line from one gable end to the other. It should be straight. Then look at the valleys — the V-shaped channels where two roof planes meet and funnel water down. Valleys take more water volume than any other part of the roof, so they wear out first. From the ground, look for shingles that appear lifted, cracked, or washed thin right along that seam.
3. Inspect gutters and downspouts
You can learn a lot about your roof without ever leaving the ground here. Check for:
- Granules piling up in the gutter troughs or at the downspout splash block — a little is normal on a newer roof, but heavy, sandy buildup on an older roof signals accelerated wear.
- Gutters pulling away from the fascia board or sagging between hangers, which is often a sign of water sitting where it shouldn't.
- Dark streaking on the fascia or siding below the gutter line, which usually means water is overflowing rather than draining through the downspout.
4. Use binoculars on flashing and penetrations
Flashing — the metal strips sealing joints around chimneys, plumbing vents, skylights, and where the roof meets a wall — fails more often than the shingle field itself. From the ground with a decent pair of binoculars, look for rust streaks, flashing edges that have lifted or pulled away from the surface, and gaps where you can see daylight or the underlayment beneath. Pay particular attention to the chimney base and any place a satellite dish or old antenna mount was ever attached.
5. Finish inside: attic and ceilings
The ground-level exterior check pairs with a quick interior check. On a dry day, take a flashlight into the attic and look for:
- Any point of daylight showing through the roof deck
- Water stains, dark trails, or damp/matted insulation, especially near chimneys, vents, and valleys
- Rusted nail tips (a sign of trapped moisture and poor attic ventilation)
Then walk the interior ceilings, especially top-floor rooms and closets, checking for brown rings, bubbling paint, or a musty smell — all early tells of a slow leak long before it becomes a visible drip.
What to Do With What You Find
Not everything you spot means an emergency. A few curled shingles on a south-facing slope after a hot summer is normal aging. But sagging, valley wear, lifted flashing, or attic moisture are worth a professional look before the next heavy rain. Piedmont weather is hard on roofs — we get ice in January, pollen and heat baking shingles by June, and heavy thunderstorm and remnant-hurricane rain by late summer, and each season stresses a roof differently.
If in doubt, don't get on the roof yourself to investigate further. A steep pitch, a wet surface, or a soft spot in the decking can turn a quick look into a serious fall. Call a local, insured roofing contractor to take it from there.
Keep a simple log with the date and a phone photo from each inspection point. Comparing photos season to season makes it much easier to tell whether something is new damage or just normal weathering — and it gives your roofer a head start if you ever do need a closer inspection.
Stop Guessing on Price
Get precise measurements and a detailed price range for your specific roof right now using our AI technology. No home visit required.
Get my price