Fall Roof Inspection Checklist Before the Triad's First Freeze
Why Fall Is the Deadline, Not a Suggestion
Every November we get the same calls: a stain spreading across a bedroom ceiling the morning after the Triad's first hard freeze, or a gutter that ripped clean off the fascia under the weight of ice. Almost every one of those calls traces back to something that was visible from a ladder in October. Once night temperatures start dropping into the 30s here in Greensboro, High Point, and Winston-Salem, asphalt shingles get stiff and brittle, sealant stops curing properly, and any water that's been sneaking into a seam has a much better chance of freezing, expanding, and turning a small problem into a deck repair.
You don't need to be a roofer to catch most of what matters. You need about an hour, a stable ladder, a flashlight, and this list. Here's exactly what we check before the cold sets in, and what to do with what you find.
The Ground-and-Ladder Checklist
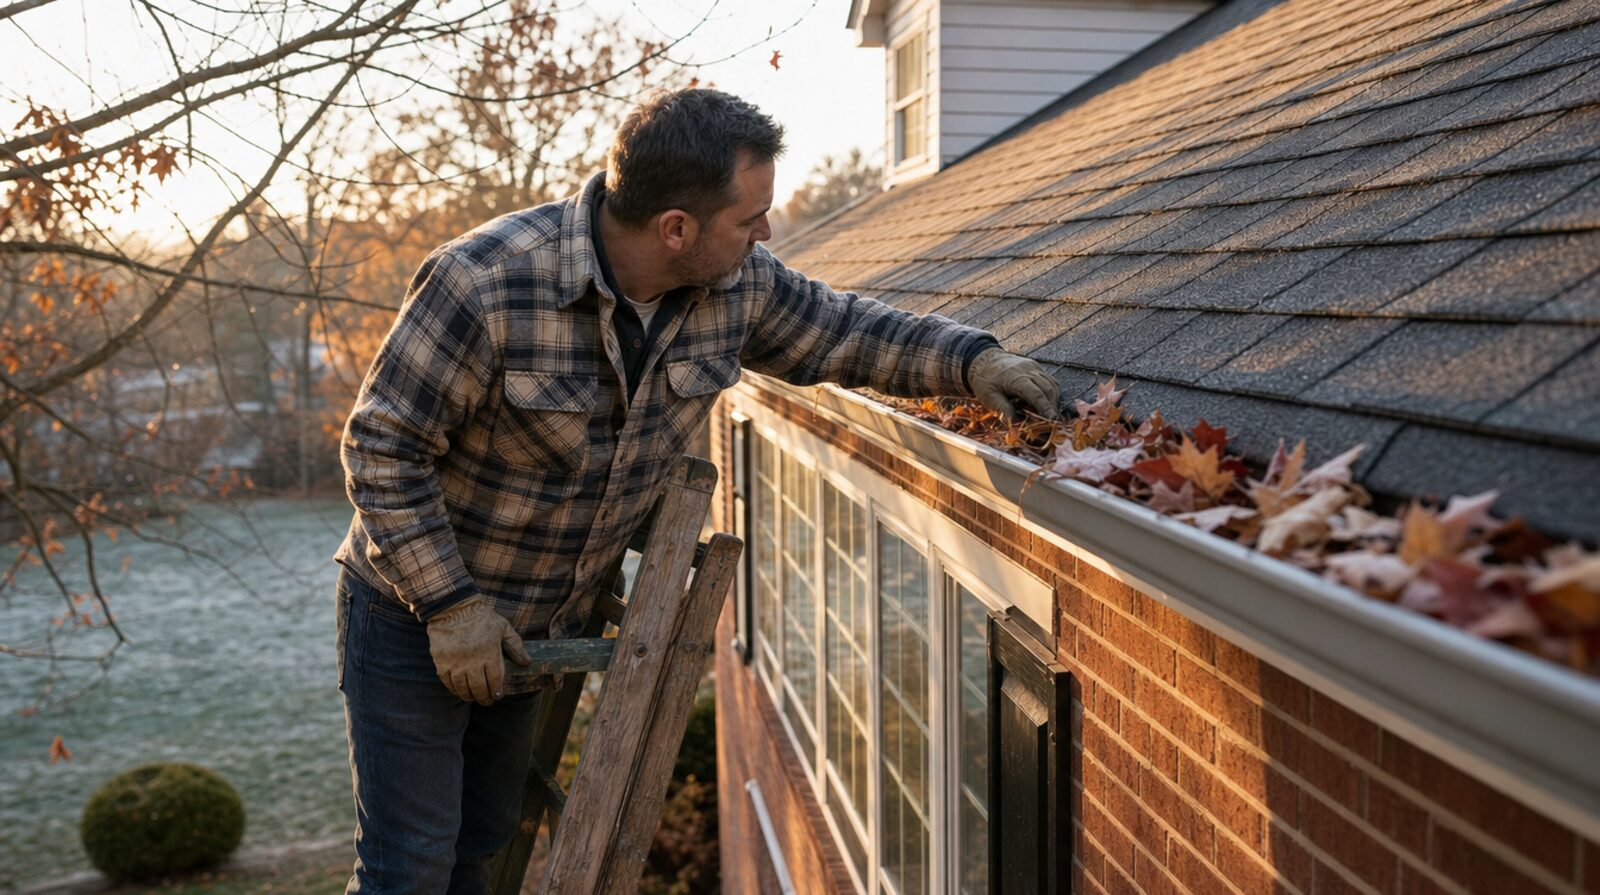
1. Clear and Test the Gutters
Clogged gutters are among the most common causes of the ice dams we get called out for every January. Pull out leaves and grit by hand, pay extra attention to valleys where two roof planes meet, and then run a garden hose at the far end of each run. Watch the water travel the full length and exit cleanly through the downspout. If it backs up or spills over an inside corner, you've got a clog or a pitch problem worth fixing now, not after the first freeze locks everything in place.
2. Scan Every Slope From the Ground
Before you climb anything, walk the perimeter of the house with a pair of binoculars and look at each roof plane in good daylight. You're looking for shingles that are curling at the edges, cracked, or missing outright, along with bald patches where the granules have worn thin and the black asphalt mat is showing through. Granule loss doesn't mean instant failure, but it's a sign that section of roof has less UV and weather protection left than the rest, and it's worth noting for next spring's budget conversation even if it doesn't need attention today.
3. Check Flashing and Penetrations Up Close
If you're comfortable on a ladder, get eye-level with the chimney base, plumbing vent boots, and any skylights. These are where roofs almost always fail first, because flashing is a mechanical seal rather than a continuous surface, and it moves slightly with the house through every seasonal temperature swing. Look for lifted metal edges, cracked or shrunken rubber boots around vent pipes, and sealant that's turned chalky or pulled away from the surface it's supposed to be bonded to. A tube of roofing sealant and twenty minutes now is a fraction of the cost of a ceiling repair in February.
4. Go Into the Attic With a Flashlight
This is the step homeowners skip most often, and it's the one that tells you the most. Climb into the attic on a sunny afternoon and turn off your flashlight for a moment first — any pinpricks of daylight coming through the roof deck mean there's a gap that will let water in too. Then look for dark or damp insulation, staining on the rafters, and a musty smell, all of which point to a leak that hasn't shown up on your ceiling yet. While you're up there, confirm your soffit vents aren't blocked by insulation and that air is actually moving toward the ridge. Balanced attic ventilation matters just as much in winter as summer here — a poorly ventilated attic lets warm air melt roof snow from below, which refreezes at the colder eaves and builds exactly the kind of ice dam that forces water backward under your shingles.
Beyond the Shingles: Trees, Sealant, and Timing
5. Trim Back Overhanging Limbs
Piedmont ice storms are notoriously unpredictable, and a limb that looks fine in October can come down on your roof under an inch of ice in January. Cut back anything hanging within about six feet of the roofline, especially over valleys and near chimneys where debris tends to collect and hold moisture against the shingles year-round.
6. Get Repairs Done While It's Still Warm Enough to Seal
This is the detail most homeowners don't know: roofing sealants and self-sealing shingle strips need a certain amount of warmth to cure and bond correctly, generally above 40 degrees Fahrenheit during application. If you wait until the week of the first freeze to patch a flashing gap or reseal a boot, you may end up with a repair that never fully sets. Late September through early November is the real window for this kind of work in our climate — after that, a lot of legitimate repairs either have to wait for a warm afternoon or get pushed to spring, and the roof is exposed the whole time.
A roof rarely fails all at once. It fails one ignored seam, one clogged gutter, one missed flashing gap at a time — and fall is when all three are still cheap and easy to fix.
If you get partway through this list and find something that gives you pause — a soft spot on the decking, a slope with more bald patches than you expected, water stains in the attic that weren't there last year — that's worth a second set of eyes before the weather turns. A roof that's sound going into winter is one less thing to worry about when the first freeze finally hits the Triad.
Stop Guessing on Price
Get precise measurements and a detailed price range for your specific roof right now using our AI technology. No home visit required.
Get my price